Welding Preparation and Finishing:
The Beginning and the END
**Preparation DETAILS are in my ebook, "The Arc And Beyond"!**
(see the link at the bottom of this page)
Welding Preparation:
The Beginning:
1) Do the dreaming, then write stuff down.
2) Sometimes it helps to make more than one "view" of the project.
3) Then start a list of materials based on the drawing.
4) Decide if the materials will all be new materials or partially.
5) Then research sources.
6) Bevel larger pieces for better penetration.
7) Welding preparation involves a lot of cutting.
8) Use carpenter squares, & measure corner to corner to help "square things up".
9) Use the 3-4-5 rule for checking the square of large items.
10) Use people, c-clamps, vice-grips, come-a-longs, chain hoists, & even rope to help hold things in place.
Begin Assembly:
11) Tack.
12) Grind or flatten pipe ends.
13) Use pre-heating for castings.
14) Sometimes you may need to gouge it out to provide better penetration.
15) Try to not make really heavy weld beads.
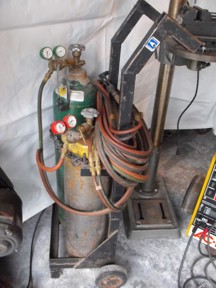
Check out the various photos related to the above tips for preparation:
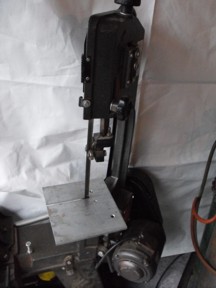
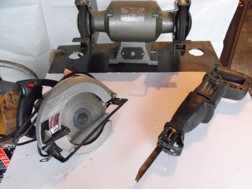
Above are various cutting tools used in preparation. You can also install a metal cutting blade on your skilsaw if needed. Use what ever tool you can and make as accurate a cut as possible.
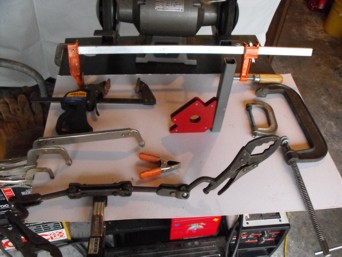
Use whatever methods you have for holding the work-pieces. That helps ensure that things STAY square & don't move around.

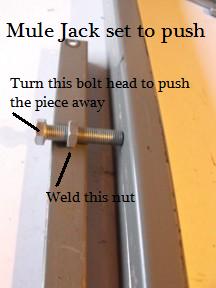
Some welders call this a "mule jack".
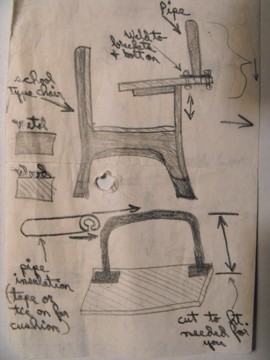
One of my really old & simple drawings that I made while planning to make a gun-rest for "sighting in" my rifles. I had to figure out measurements AFTER I bought the school chair.
I bent the pipe via my torch, then welded the brackets to the ends. I added socks filled with sand to help cushion & steady everything. It worked GREAT.

Photo via flickr.com
An example of a project that would need a lot of welding preparation. Plus seeing the kid standing there helped me remember how important it is to do your best. It could be YOUR kid using whatever you build!
**Finishing DETAILS are in my ebook, "The Arc And Beyond"!**
(see the link at the bottom of the page!)
Finishing The Job: "the END"
1) Check your weld "starts & finishes".
2) Chip all slag off & then brush it.
3) Do any grinding & sanding as needed.
4) If you're grinding off welds, check for cracks & pitting.
5) Grind, sand, prime, paint.
6) Adding decorative pieces.
7) Material type & size.
8) Note that after welding, you should be priming or painting fairly soon to prevent rusting.
With good welding preparation and attention to finishing the job, you will be successful!
LINK to my ebook:
Want MORE INFO on preparing or finishing? Get it from my ebook, "The Arc And Beyond"!:Click HERE to see more info on my ebook
Welding Preparation and Finishing top of page
Back to Arc Welding MAIN PAGE